
Expenses
Expenses records what the business spends outside of buying stock: rent, utilities, salaries, supplies, repairs to the shop. Expenses feed the Profit & Loss and Expense reports and, on plans with accounting, your books.
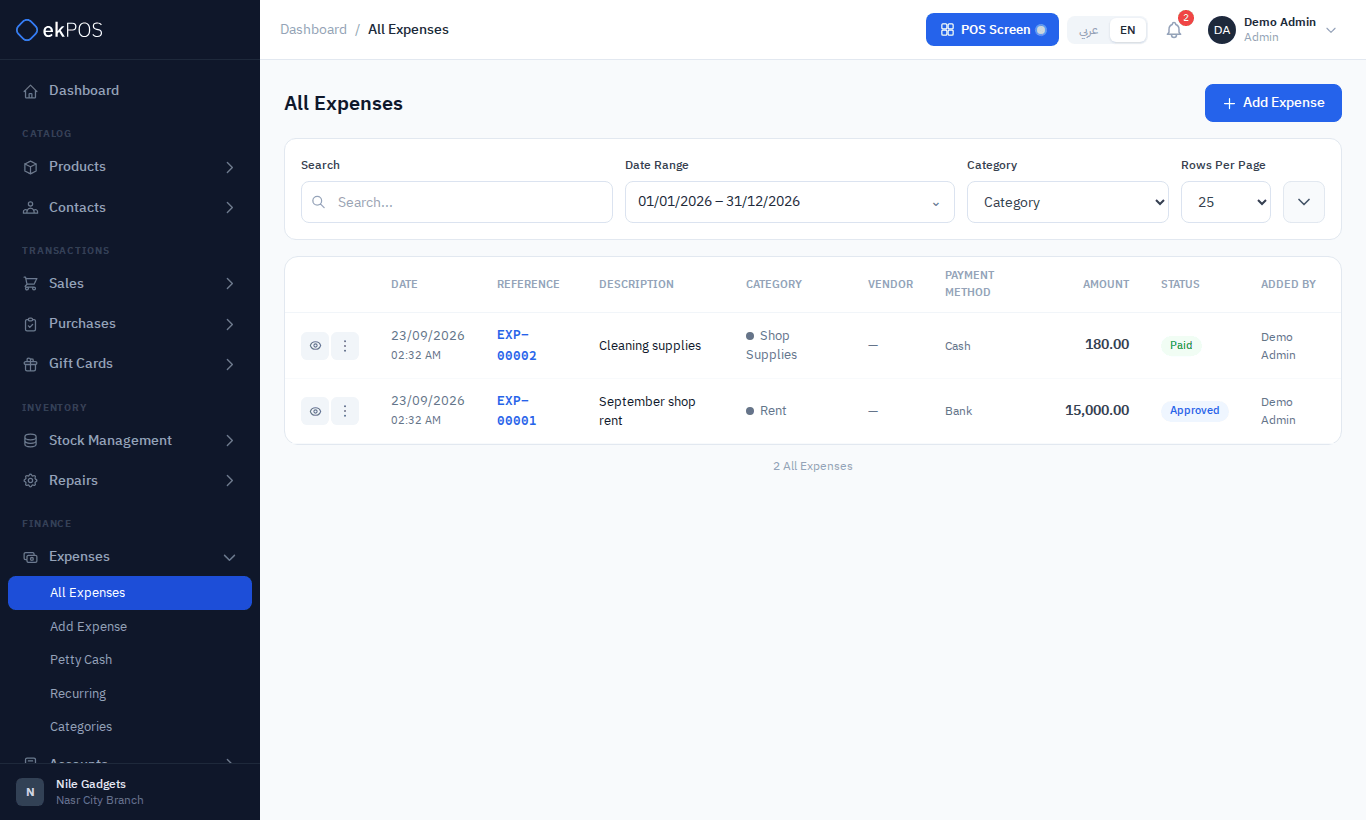
Expense categories
Set up categories first, under Expenses → Categories: click Add Category, enter a name (and optionally an Arabic name), pick a colour and icon, and save. Categories group expenses in reports, and each can post to its own account in Accounting settings.
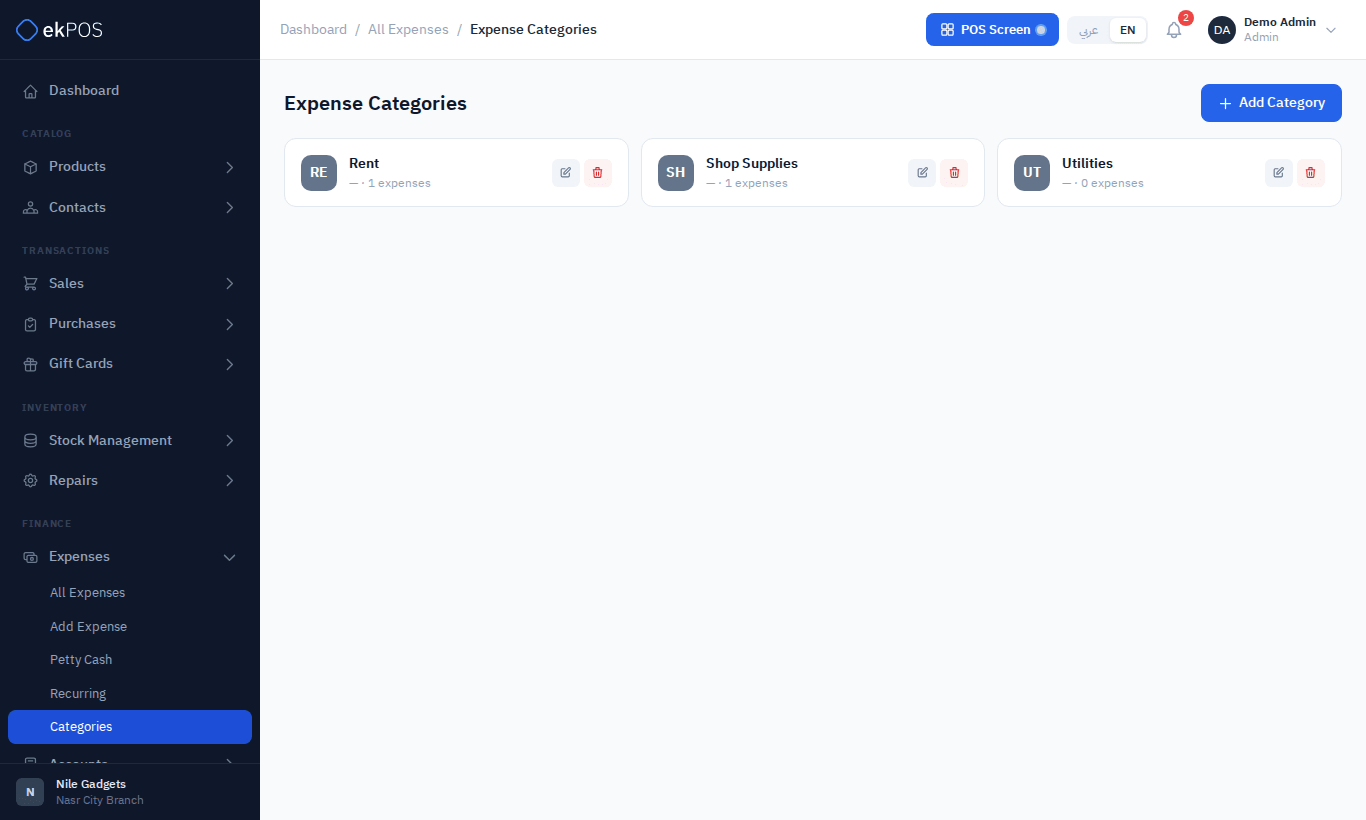
Record an expense
- Go to Expenses → Add Expense.
- Enter the Description and Amount (both required) and the Date.
- Choose the Category and the Branch it belongs to.
- Enter the Vendor: search your contacts, or type a name for a one-off vendor.
- Choose how it is paid — Payment Method type (Cash, Bank, Card, Mobile Wallet, Cheque, Other) and optionally one of your payment methods.
- Choose the Status (below).
- Optionally attach the receipt — PDF, PNG, JPG or WEBP, up to 10 MB — and add notes.
- Save. The expense gets a reference (EXP-00001…).
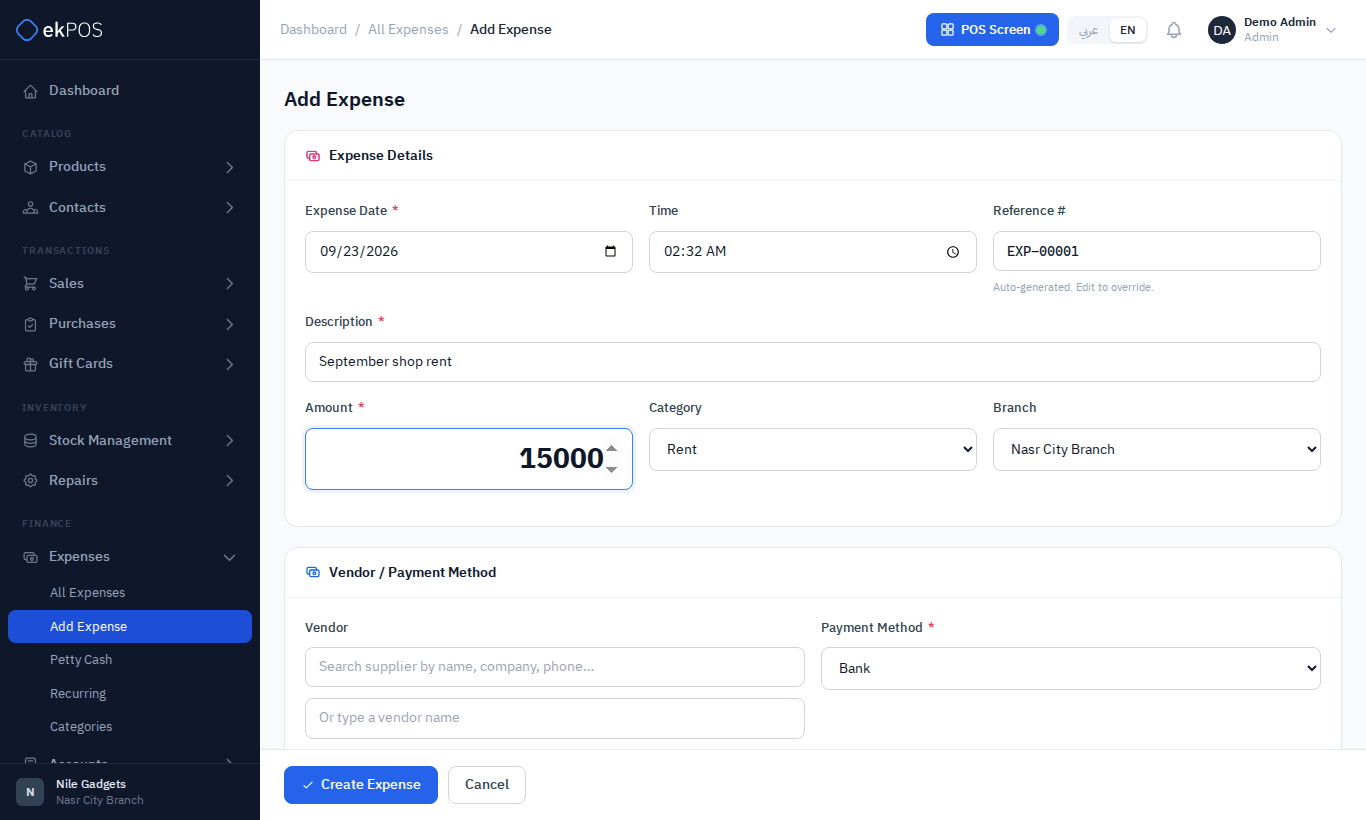
Statuses: pending, approved, paid
| Status | Meaning | Accounting |
|---|---|---|
| Pending | Recorded, waiting for approval. | Nothing posted |
| Approved | Agreed, not yet paid. | Posted as owed |
| Paid | Paid. | Posted as paid from cash or bank |
Move an expense along from its ⋮ menu: Approve, then Mark as Paid. You can also save it straight as Approved or Paid.
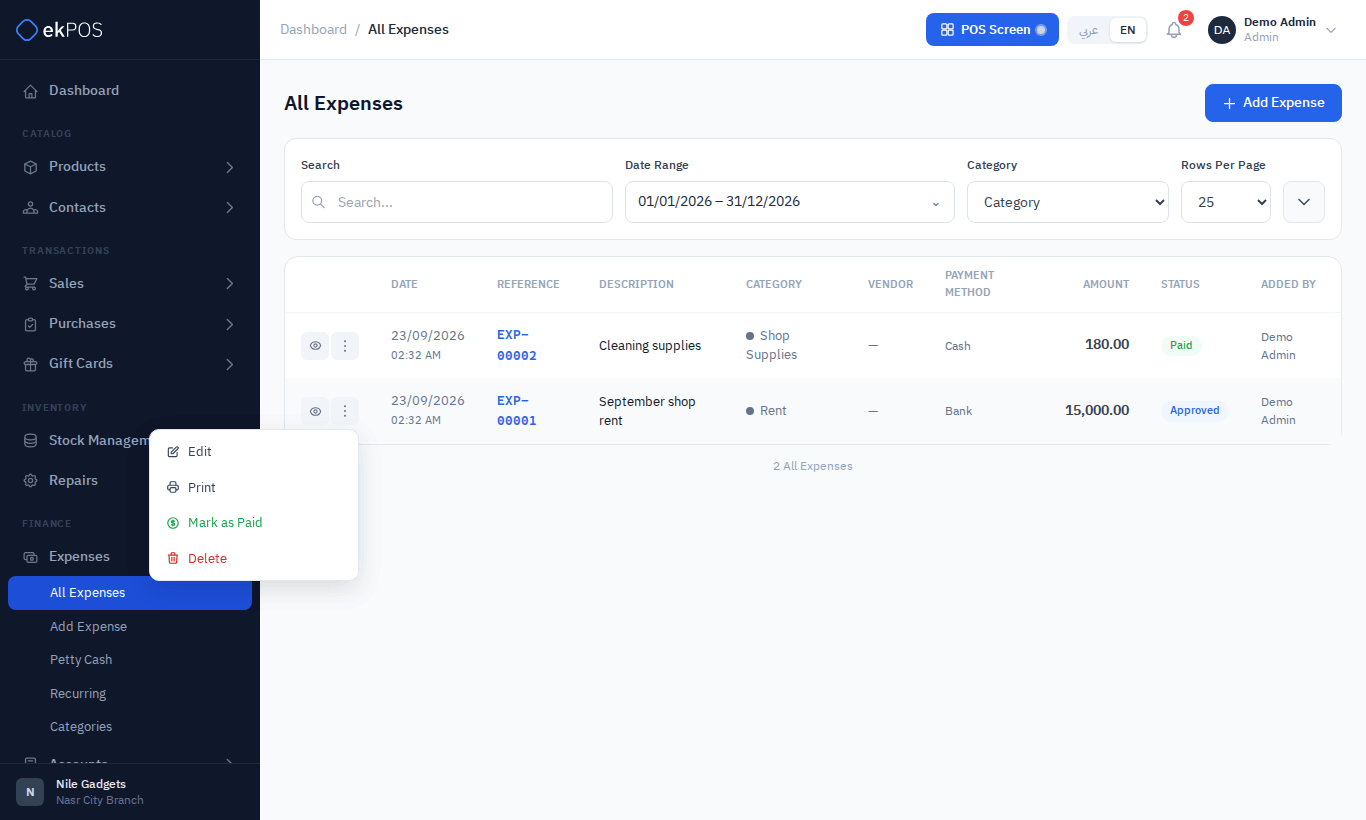
Cash expenses and petty cash
An expense that is Paid in Cash is taken out of petty cash for its branch automatically, and appears in the petty cash log. Editing it back to unpaid or to another payment method, or deleting it, puts the money back.
Find and manage expenses
- Search by reference or description. Filter by status, category, payment method and date.
- ⋮ → Edit, Print (a receipt, on paper or thermal per Document settings), Approve, Mark as Paid, Delete.
- The eye shows the full expense, including who approved it and when it was paid.
Recurring expenses
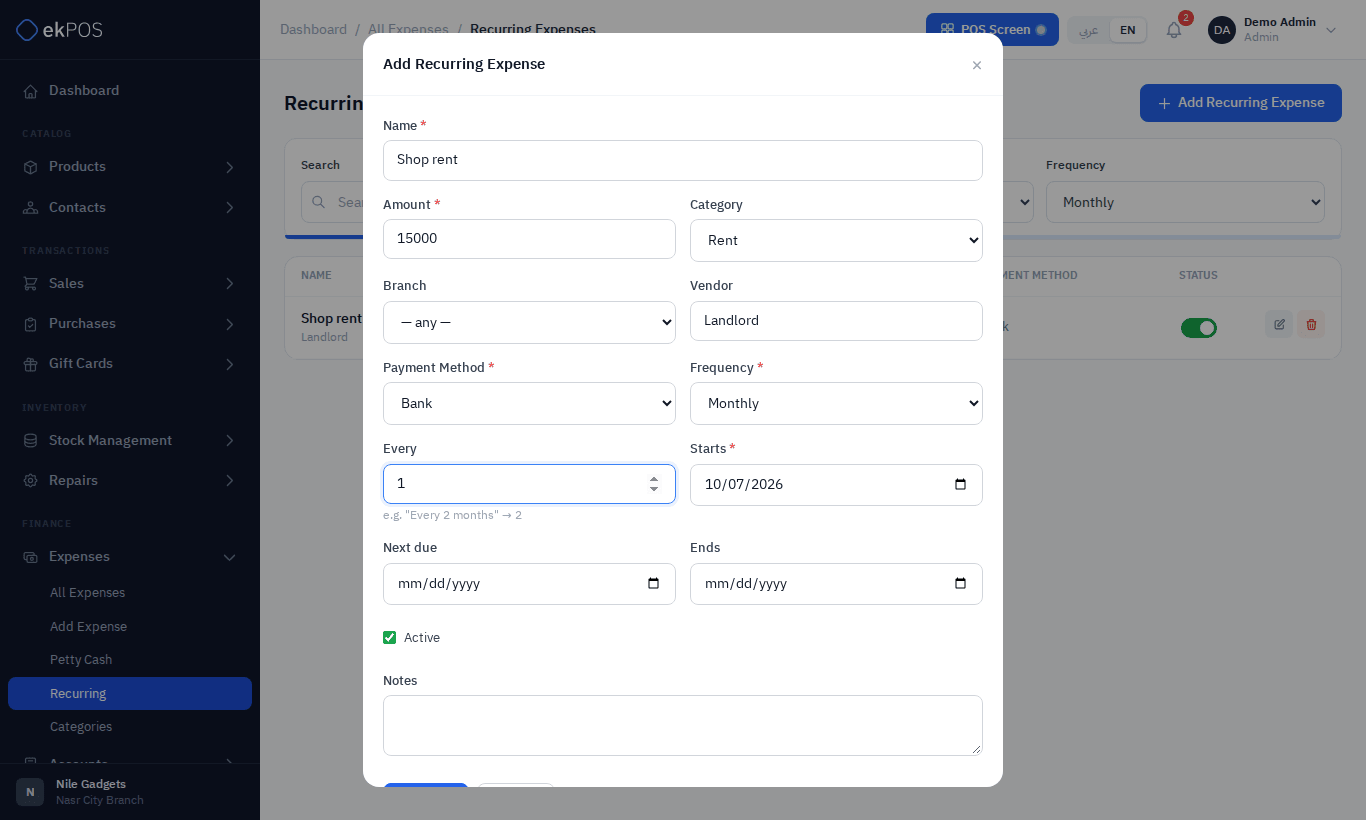
Expenses → Recurring keeps a list of regular bills — rent, internet, salaries — with their amount, category, vendor, payment method and schedule.
- Click Add Recurring Expense.
- Enter a Name and Amount, the category, vendor, branch and payment method.
- Choose the Frequency (daily, weekly, monthly, quarterly, yearly) and how often (every 1, 2… periods), a Start Date, an optional End Date and the Next Due Date.
- Save.
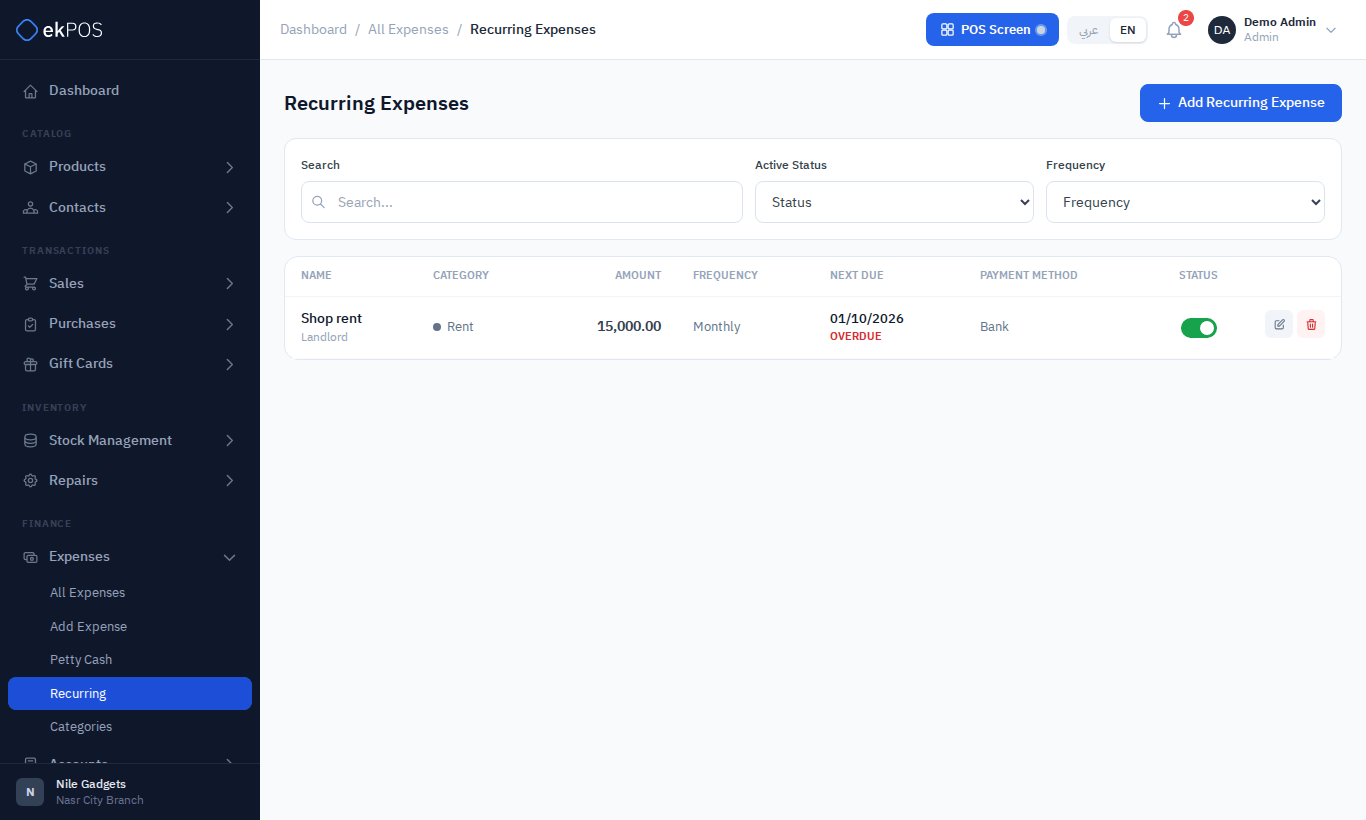
The list shows each one's next due date, and highlights those that are past due. Pause one with its toggle.
ImportantRecurring expenses are reminders. ekPOS never creates the expense for you: an expense should only be recorded once the money has actually gone out, and the next due date does not move on by itself. When a bill is paid, record it with Add Expense, then edit the recurring entry to set its next due date.
Reminders
ekPOS reminds you twice for each bill, so it is not forgotten:
- A few days before it falls due (three days ahead), and
- On the due date (or the next time it checks, if that day was missed).
Each reminder is a notification in the bell at the top of the page and an email. It goes to the people of your business who can add expenses (and, when the bill belongs to a branch, who work at that branch). Paused bills and bills past their End Date send nothing. Each reminder is sent once per due date: when you move the next due date forward, the next round of reminders starts on its own. A bill that stays overdue is not repeated; it stays highlighted in the list.
Who can do what
| Permission | Allows |
|---|---|
| Expenses → View | See expenses, petty cash, recurring expenses |
| Expenses → Create | Add expenses, top up and withdraw petty cash, add recurring expenses |
| Expenses → Edit | Edit, approve and mark paid |
| Expenses → Delete | Delete expenses |
| Expenses → Manage Categories | Add, edit and delete categories |