
User Guide / Setting up your business
Custom fields
Custom fields add your own questions to ekPOS forms — a Warranty expiry date on products, a National ID on customers, a Delivery slot on sales.
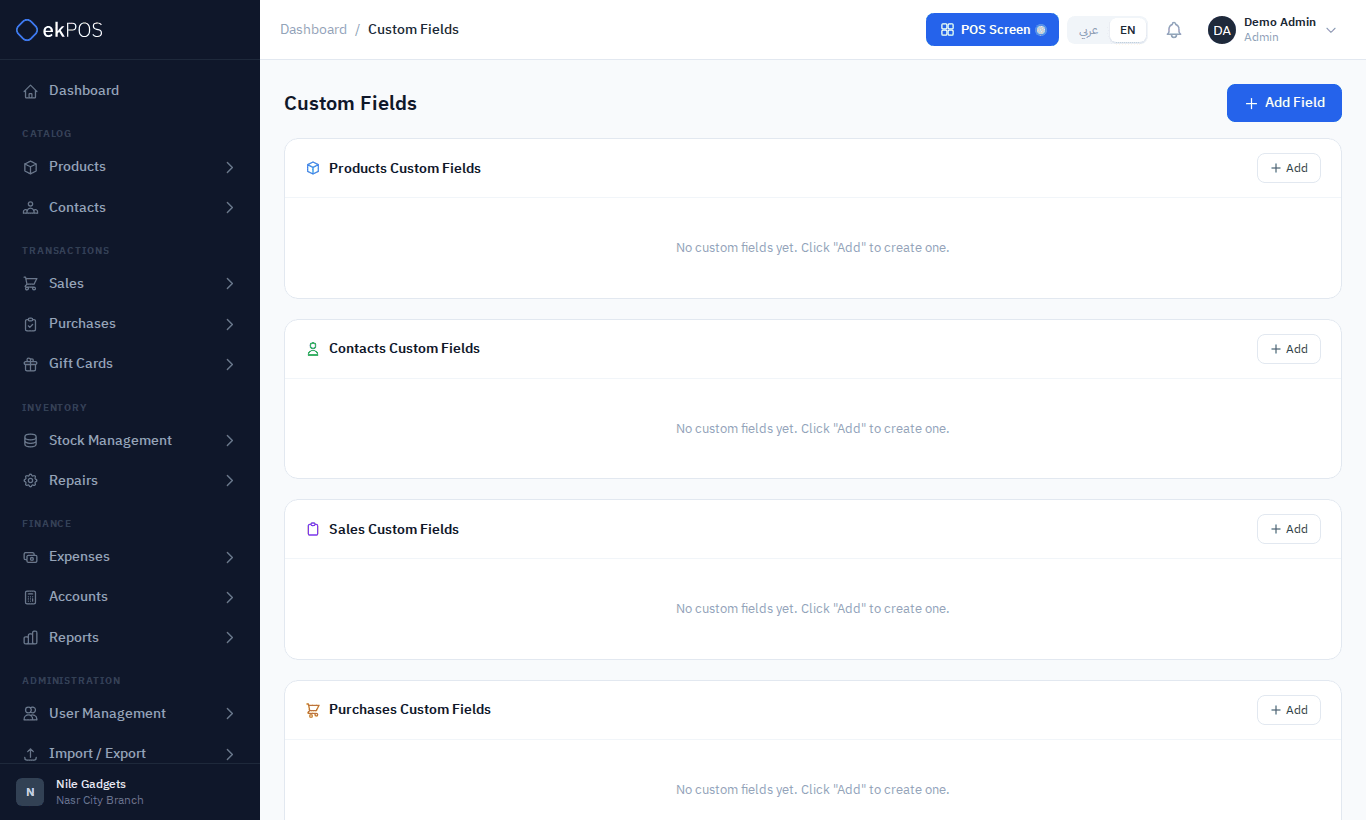
Open Settings → Custom Fields.
Where custom fields appear
The page lists a section for Products, Contacts, Sales, Purchases, Stock Transfers, Stock Adjustments, Expenses and Users. Fields currently appear and are saved on these forms:
| Section | Form |
|---|---|
| Products | Add / edit product, the product's quick view, and the product import and export (one Custom: label column each) |
| Contacts | Add / edit customer or supplier |
| Sales | Add / edit sale (back office) |
| Users | Add / edit user |
WarningFields added under Purchases, Stock Transfer, Stock Adjustment and Expenses can be created but are not yet shown on those forms.
Add a field
- Click Add in the section you want, or Add Field at the top and choose the section.
- Enter a Field Label, for example Warranty Expiry Date.
- Choose a Field Type: Text, Number, Date, Text Area, Checkbox, Radio or Dropdown.
- For Checkbox, Radio and Dropdown, enter the Choices separated by commas:
Small, Medium, Large. - Tick Mark as required if the form must not be saved without it.
- Click Save.
Edit, deactivate or delete
- Edit changes the label, type, choices or whether the field is required. You cannot move a field to another section.
- Deactivate hides the field from forms without losing the answers already saved.
- Delete removes the field and every value saved in it. This cannot be undone.
Who can do this
Custom Fields → View / Create / Edit / Delete.
Plan limits
Your plan may limit how many custom fields you can create, or not include them at all. You then see You have reached the custom field limit for your current plan or Custom fields are not available on your current plan.